One nice thing about having a designated studio for working is that you can walk away and leave things unfinished and ready to go back to the next day. I find I have to keep on top of things and clean up as I go or I tend to misplace things -- a lot! I know I'm in trouble when I have to ask Dave to help me look and you would think he would be more frustrated than me when he has no idea as to what he is looking for. He has a good rule, however, that I am trying to learn, and that is, as he calmly tells me, just leave it for now and work on something else and it will eventually come to you where you put it. He is right and I usually find it after realizing it was right under my nose the whole time but couldn't see for looking. I prefer to make my time more productive than wasting minutes looking for things.
I read
an article on how we spend an average of 10 minutes a day rummaging for lost items. I swear I spend a lot more time than this even though I consider myself to be quite organized. As we find ourselves getting busier with more orders to fill, it is even more important to reduced the wasted time.
I came across another interesting article titled, "
12 Things Highly Productive People Do Differently" which you might find to be a good read. Some of the points I already do where others I could really learn from to be more productive.
These are a few points that I found the most interesting and helpful.
Create and observe a To Don't List - I thought this was most interesting as I am always making lists of what needs to be done and not what to NOT DO that would prevent me from being more productive.
Organize your space and data - This is a biggie and I now try to take time out every day for a minor tidy up and once a week to reorganize and tidy more where needed. The article says that when you are disorganized, the extra time spent looking for stuff causes us to lose focus. Once that is done, it takes a while to get it back and then real time is wasted.
Work when your mind is fresh - The article explains that not all hours are created equal and some people operate best in the morning after they've had a good nights sleep and they are fresh. I find this doesn't always work for me. While my morning coffee gets me going for the day, I find that I am sometimes more productive later on in the day, depending on the type of tasks I have to do. As a polymer artist, I find there are so many more things to do other than just creating new designs. At times it will involve hours of conditioning clay or mixing up colors for a project. There is also finishing involved such as sanding, waxing or glazing. Then items such as buttons need to be packaged. If they are beads for jewelry then they need to be put together. I am fortunate to have a wonderful "claymate" (hubby Dave) who does a lot of the chores mentioned. As an artist, I find that inspiration will hit me at any time of the day and the enjoyable thing about inspiration is the sudden burst of energy that comes with it. So no matter how well planned your day may be, make sure to leave room just in case inspiration strikes.
Commit your undivided attention to one thing at a time - The article says to stop multi-tasking as it actually slows you down. Single tasking keeps you more focused and you actually finish more rather than having so many things started and nothing finished. At times if your work table looks like mine, there are usually many half finished projects taking up space. This can often be very distracting so is best to clear them off until you are ready to finish them. When I am making
scarf clips, for instance, I make the front design first. Sometimes I don't get around to putting the clip on the back so they go in my little bin organizer to do later when it works into my time schedule. I will then finish several off at a time.
We also have other containers to organized items after baking, depending on the type of finishing required such as sanding, waxing, spraying with
PYM11 (Preserve Your Memories 11), etc. For example I like to spray any items with the PYM11 when I have a tray full or two rather than just a few pieces at a time.
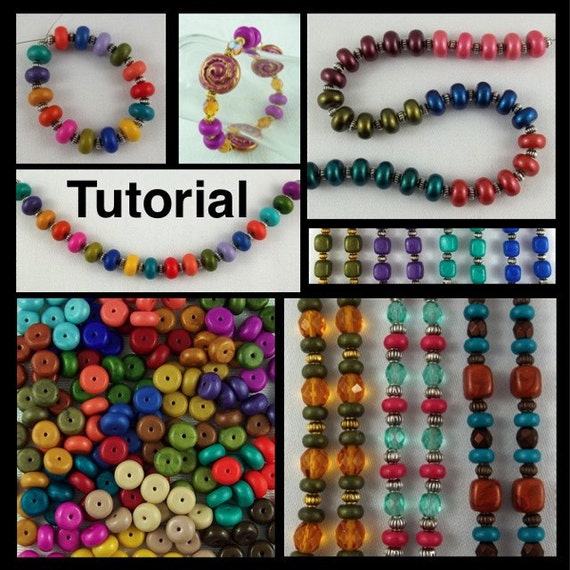
Invest a little time to save a lot of time - Ask yourself about a project that you make a lot of. Is there a way that you can save time by making it in a more efficient way? I have applied this to several items we make a lot of such as our scarf jewelry and buttons. I was making a lot of the rondelle spacer beads but found it was quite time consuming and I wanted to make more consistent sizes. I decided there must be a quicker and easier way so I made my own tools to help me with this. I share how to do this in
my tutorial. To get started you need to make this simple tool but will save a lot of time and effort later when making your beads.
I found these tips to be very useful in my day to day working. I hope you find some of the points useful for you as well.