


To determine the finished length of your bracelet, wrap a cloth or flexible measuring tape loosely around your wrist. If you do not have this type of measuring tape, you can always print one out . This is your wrist measurement but you do not want the bracelet to fit too tight so add a little extra to a fit that you prefer.

I like to lay my tile beads out with the spacer beads between so I can see how they look and how many I will need to make my bracelet.

You need to decide what type of clasp you would like to use - there are many options. I like a toggle clasp myself which is what I will be using here.
Cut your flex wire (I'm using a 49 strand softflex in clear) double the length of your bracelet adding a 3-4 inches for finishing. Thread a crimp bead onto one end of your flex wire, thread the wire through the T section of your toggle clasp and back again through the crimp bead. Crimp the bead using your crimping pliers.

I like to add a crimp cover but this is optional.

Thread several small seed beads and one spacer bead onto the wire. You need just enough seed beads so the toggle clasp will fasten easily when the T part is inserted.

Add the remaining tile and spacer beads all the way down one side.


Another option is to use a beaded loop instead along with a button or the T part of a toggle like I'm doing here:


Finish off by threading the wire tail through the beads and trim. Add a crimp cover over the crimp bead (optional).

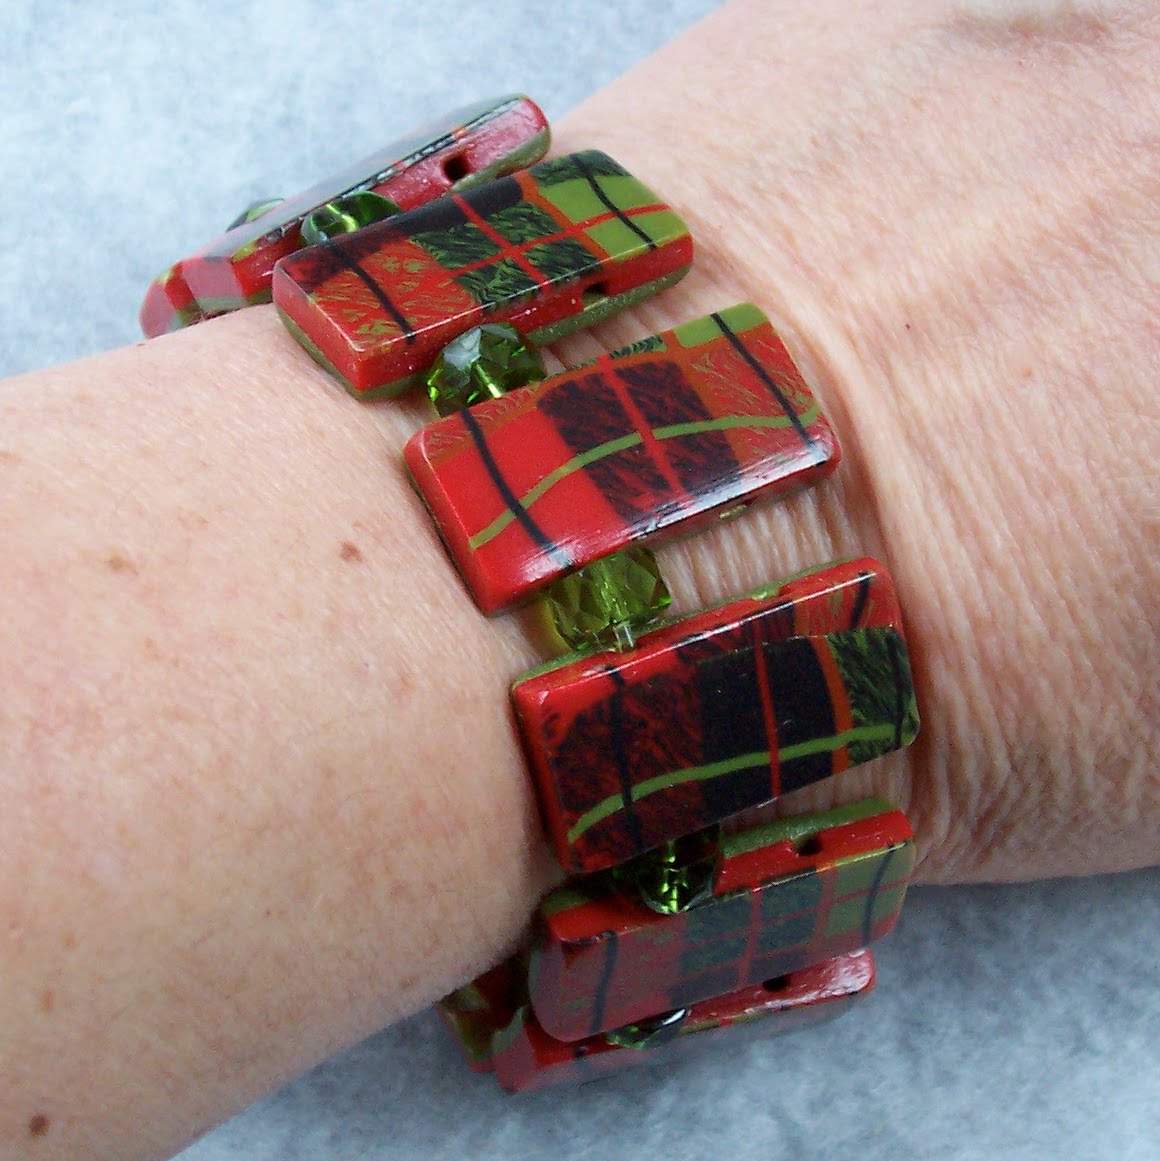
Your bracelet in now finished! Wear, enjoy and admire!


