


We had a difficult time finding the adapters and so I improvised a little and will show you a method that I use.
Supplies needed:
* A large bead with a large hole or one that you can drill a hole in at the top
* Ball chain
* Heavy 18 or 16 gauge wire in the same color to match your chain
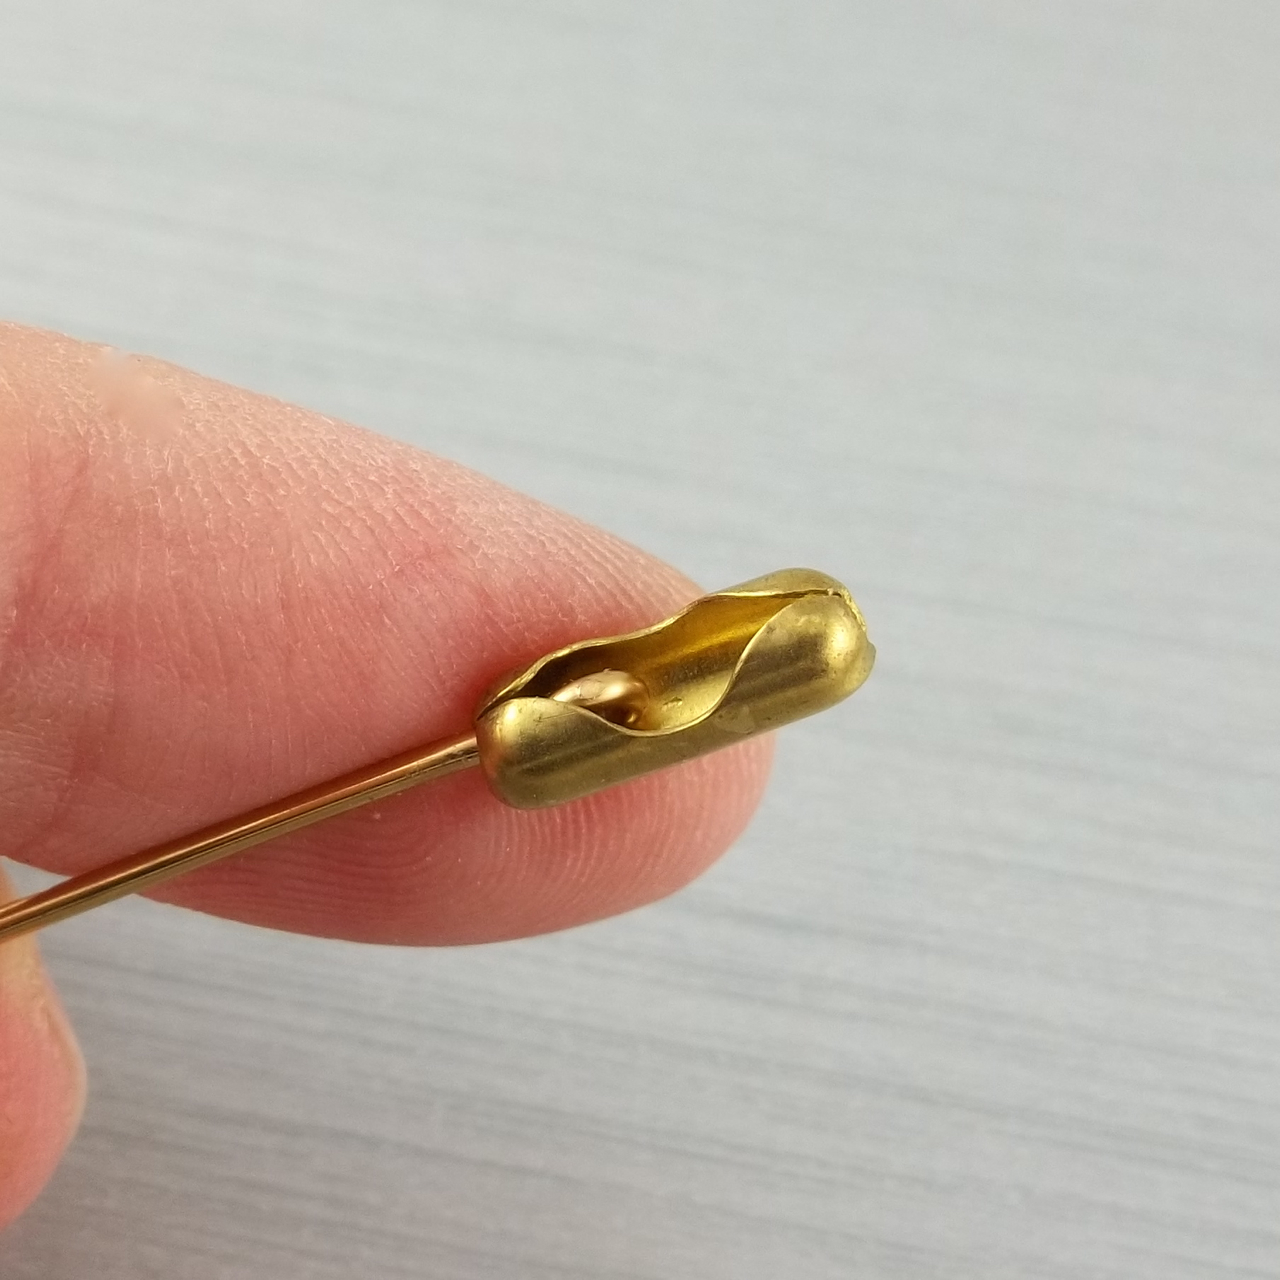
* Two couplings that fit the ball chain
* Strong metal bead or bead cap
* Round nose pliers
* Wire cutters (heavy duty type)
* Drill bit - 5/32" or 4 mm (optional)
1. Cut a piece of wire long enough that will go through your bead plus extra for finishing at the bottom end. With your round nose pliers, make a small loop at the one end like you are making an eye pin. You want a nice tight loop that will fit inside one of the couplings. It doesn't have to look pretty as it won't be seen afterwards.

2. Insert your wire into one of the couplings from the inside going out as shown:
3. Attach the ball chain to the opposite end of the coupling

4. You can make a large hole at the top of your bead before baking or drill it larger afterwards, whichever you prefer. Make sure the hole is only large at the top part of your bead and not all the way through. It should also be deep enough to hide the coupling end of the ball chain.

5. Insert the wire through the top of the bead so the wire comes out the bottom end.

6. Pull it all the way through until the coupling is hidden inside the top making sure it is nice and snug.

7. Add a bead or bead cap to the bottom and then loop your wire. The bead acts as a "washer" to anchor your wire and your bead on.


8. Hang a decorative bead or dangle from the wire loop to finish it off.

9. Attach the other coupling to the opposite end of the ball chain and your fan/light pull is ready to hang!


Have fun and enjoy!
Very Cool! Thanks for sharing.
ReplyDeleteSally
Wow, wonderful tutorial! Thanks for sharing!
ReplyDeleteWhat a great idea! Thank-you so much for sharing. :)
ReplyDeleteThanks for your help -- I'm making some right now!
ReplyDeleteHi girls, I just found your tutorial and I think it's awesome! Thank you so very much for sharing.
ReplyDeleteBrilliant!I had spent the afternoon mulling in my head how to get the ball chain connected to the end of the bead series and here it is! Thank you ladies, off I go!
ReplyDeleteThis is indeed what I was looking for, wondering what would be the good standard size for a chain in the pull? Could you please suggest? Thank you!!
ReplyDeleteI am not sure what size I use but you will want one that is fairly strong. You will find it at the hardware or lighting store and you can usually buy it by the foot or meter. It is a standard size for light fixtures and not for jewelry. The main thing is that you find the connector that fits the same size chain. I hope I was helpful.
ReplyDeleteYes, thanks a lot!!
ReplyDeleteThis is just what I needed to know! Thanks for sharing ��
ReplyDeleteI'm late commenting on this post from 7 years ago lol! but hopefully you can answer my question... Where would I find the little silver coupling adapters? I'm talking about the little piece with an eye hole that connects to the pull chain. In addition to a beaded one for my room, I would like to make a fan pull chain for my kids room out of their little toy dinosaurs or other figurines by drilling a small hole into them. I found some toy figurine pull chains on Amazon but I thought it would be more meaningful if I used our own toys. Does that make any sense? lol. Thank you so much!
ReplyDeleteThank you...was not sure how to engineer this!
ReplyDeleteFantastic overview of electrical basics! Your post simplifies complex concepts and makes understanding electrical systems much easier. The clear explanations and practical tips are invaluable for DIY projects. Thanks for breaking down the essentials and providing such useful information—this is a great resource for anyone looking to get a handle on electrical work!
ReplyDelete